今回は、このブログで使用しているテーマ「arkhe」の子テーマを作成したので、その手順をまとめました!
※現在は「arkhe」ではなく「swell」を使っています。
目次
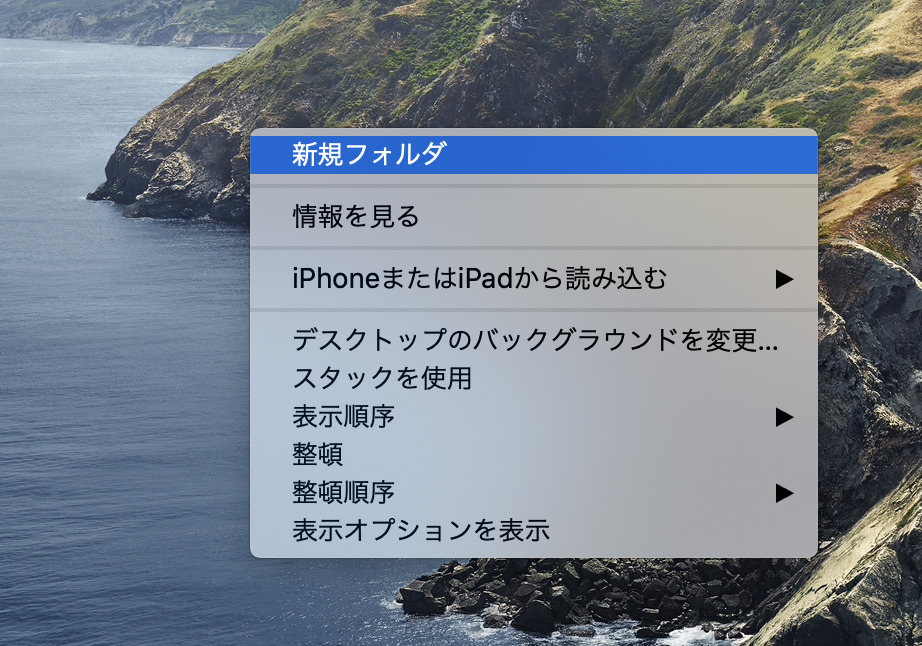
子テーマのフォルダを作成
まずは子テーマ用のフォルダをローカル環境に作成します。
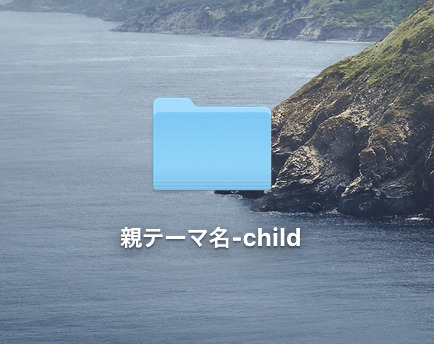
フォルダ名はなんでもOKですが、「親テーマ名-child」などとすると、どのテーマの子テーマかわかりやすいです。
style.cssの設定
作成したフォルダ内に「style.css」を作成します。
ファイルには以下を記述してください。
/*
Theme Name: Arkhe Child
Template: Arkhe
Description: Arkheの子テーマです。
Version: 1.0
*/
この中でも、
- Theme Name … 子テーマの名前(例:Arkhe Child)
- Template … 親テーマのフォルダ名(例:Arkhe)
以上の2つは必須です。
このとき、Templateで親テーマ名のスペルを間違えるとうまく認識されないので注意!
(私は最初スペルミスでうまく認識されなかった…。)
functions.phpの設定
続いてフォルダ内に「functions.php」を作成します。
ここでは、親テーマのスタイルシートを読み込むようにしていくため、以下のように記述していきます。
<?php
add_action('wp_enqueue_scripts', 'theme_enqueue_styles');
function theme_enqueue_styles() {
    wp_enqueue_style('parent-style', get_template_directory_uri() . '/style.css');
    wp_enqueue_style('child-style', get_stylesheet_directory_uri() . '/style.css', array('parent-style'));
}
wp_enqueue_scriptsをフックにwp_enqueue_styleでstyle.cssを読み込んでいます。
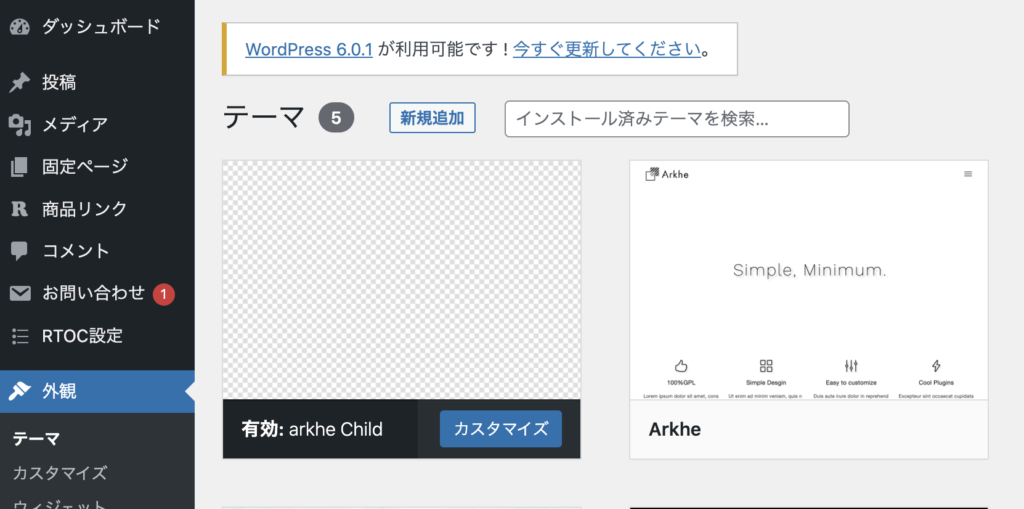
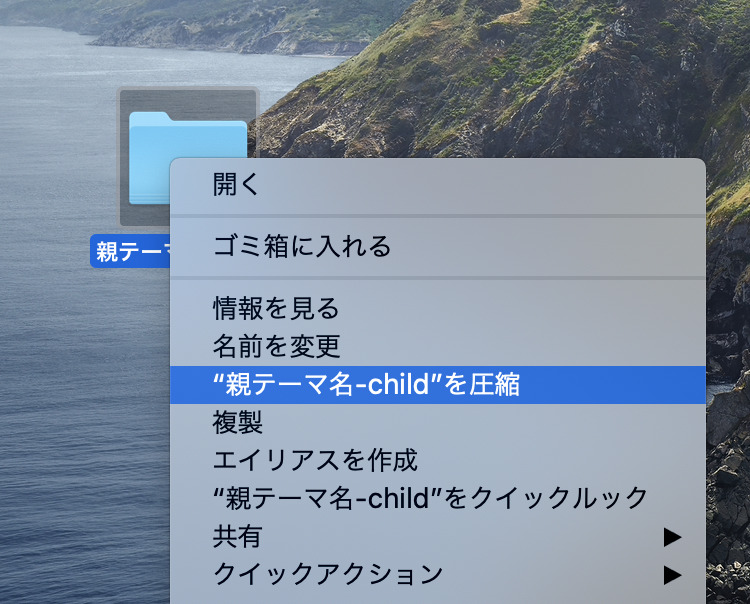
子テーマを有効化する
最後に子テーマを有効化します。
ファイルを右クリックなどで圧縮します。
次に、WordPress管理画面の「外観>テーマ>新規追加」から先ほど圧縮したZIPファイルをアップロードしていきます。
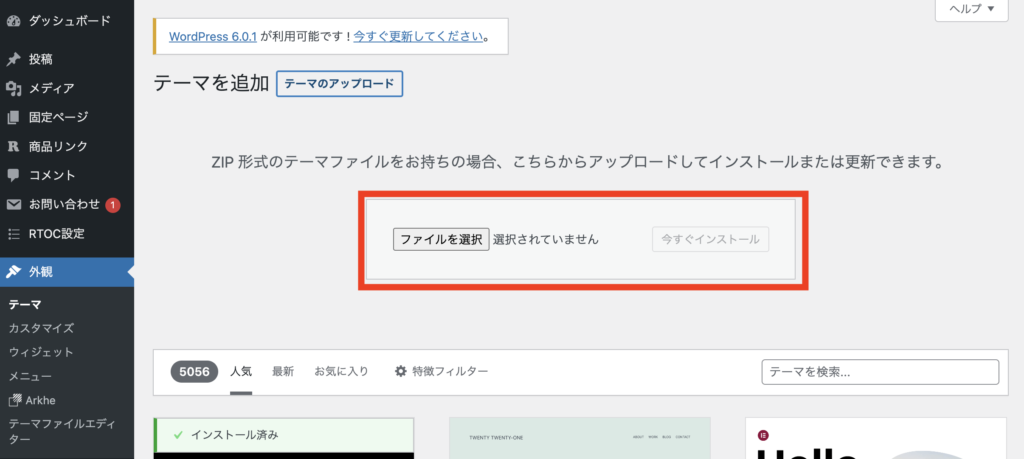
子テーマが有効化されていれば完了です!